





Introduction — Why a precise guide to applying for a Schengen visa for Madeira
Madeira (Região Autónoma da Madeira) is a stunning Portuguese archipelago in the middle of the Atlantic: dramatic cliffs, lush levadas, fishing villages and exotic fruit markets. For many travelers it’s a Schengen destination because Madeira is part of the Portuguese Republic. Still, applying for a Schengen visa for Madeira is an administrative process that requires method, exact documents and respect for deadlines. This practical guide walks you through each step, with addresses, opening hours, fees and concrete checklists. No vague generalities: numbered steps, exact document lists and local tips to avoid the mistakes that delay your trip.
Whether you’re a non-EU national living in Africa, Asia, South America or in Europe but outside the Schengen area, the basic rules are the same: apply for a short-stay visa (type C) via the competent Portuguese consulate or through a visa application center (VFS Global, TLScontact depending on country). This guide assumes you’re traveling to Madeira for tourism, family visit or short business (up to 90 days in any 180-day period). Inside you’ll find:
- A clear checklist of documents to prepare (originals and copies);
- Steps to book your appointment, get ready for the interview and pay fees;
- Exact example addresses for application centers and Madeira airport (handy on arrival);
- Practical opening hours, prices and processing times;
- Local tips for arriving in Funchal and proving a credible reason for your stay.
Why such a detailed guide? Because the key to getting your application processed without surprises is precision. An old photo, a changed hotel booking, insufficient bank proof or an incorrectly signed form can lead to rejection or a request for additional documents — costing you weeks. Follow these 7 clear, concrete steps to maximize your chances of getting a Schengen visa for Madeira in time.
Step 1 — Check consular jurisdiction and pick your submission center (allow 1 day)
First, identify which consulate or application center handles visa requests where you live. Portugal often outsources visa reception to service providers (VFS Global, TLScontact). To find where to submit your file:
- Visit the official website of the Portuguese embassy/consulate in your country and look for the “Visas” section;
- Search for the “Visa Application Centers” (VFS Global/TLS) for Portugal if the embassy outsources;
- Note the exact address, opening hours and whether an appointment is required.
Concrete examples (check that you actually fall under these offices based on your residence):
- Embassy of Portugal in London (Embassy, handles some consular matters) — 11 Belgrave Square, London SW1X 8PP. Counter hours: Mon–Fri 09:30–13:00 (by appointment).
- VFS Global Portugal Visa Application Centre (example London) — 3-7 Earlham Street, Covent Garden, London WC2H 9LN. Submission hours: Mon–Fri 08:00–15:00 (closed weekends). VFS service fee: ≈ €25 on top of the visa fee.
Checklist for Step 1:
- URL of the local consulate/center recorded;
- Phone number of the center and email for booking appointments;
- Scanner or camera to digitize passport pages and documents;
- Printer for forms and appointment confirmation.
Step 2 — Fill out the Schengen form and print it correctly (allow 1–2 hours)
The Schengen visa application form for Portugal is standardized. You can fill it in online (when available) or download the PDF from the embassy/consulate website. Complete it in block letters or via the electronic form following the instructions.
Practical technical points:
- Use the most recent version (check the date at the bottom of the PDF). Don’t leave applicable fields blank — write “N/A” if needed.
- Signature: sign where indicated. For minors, both parents’ signatures may be required.
- Print two copies: one for the center, one for you; keep a digital copy (PDF) on a USB stick.
Common mistakes to avoid:
- Wrong birthdate format (double-check DD/MM/YYYY);
- Incomplete family name (use the exact name shown on the passport);
- Vague accommodation address: provide a hotel or host address in Madeira with street and number.
Step 3 — Essential supporting documents: the complete checklist (allow 2–7 days)
Gather originals and copies according to this strict plan. Each file should include:
- Passport valid for at least 3 months after the planned exit from the Schengen area, with at least 2 blank pages. (Copies of main passport pages and previous visas.)
- Signed application form (see Step 2).
- Photos: 2 recent 35×45 mm photos, light background, neutral expression, ICAO-compliant.
- Schengen travel insurance: minimum coverage €30,000 valid for the entire stay in Europe. Include insurer name, policy number and exact coverage dates.
- Proof of accommodation: confirmed hotel booking in Madeira (e.g., Hotel The Cliff Bay, Estrada Monumental 147, 9000-100 Funchal — printed confirmation with reservation number) or a notarized invitation letter for staying with a resident (European format required).
- Proof of financial means: bank statements for the last 3 months (minimum recommended balance varies by country; generally ≥ €50/day), credit card copies and proof of income (last 3 payslips, employer letter stating salary and approved leave).
- Return flight ticket or reservation: example arrival at Aeroporto da Madeira Cristiano Ronaldo, Santa Cruz, code FNC — printed round-trip booking.
- Cover letter and detailed itinerary (daily dates and addresses) for tourist trips.
- For minors: birth certificate + parental authorization + ID copies of parents.
Indicative fees:
- Schengen visa fee (adults): €80; children 6–12 years: €40; children <6 years: free.
- Application center service fee (e.g. VFS): around €25–€35 depending on country; payment methods vary by center.
- Insurance: from €10–€25 depending on duration and age.
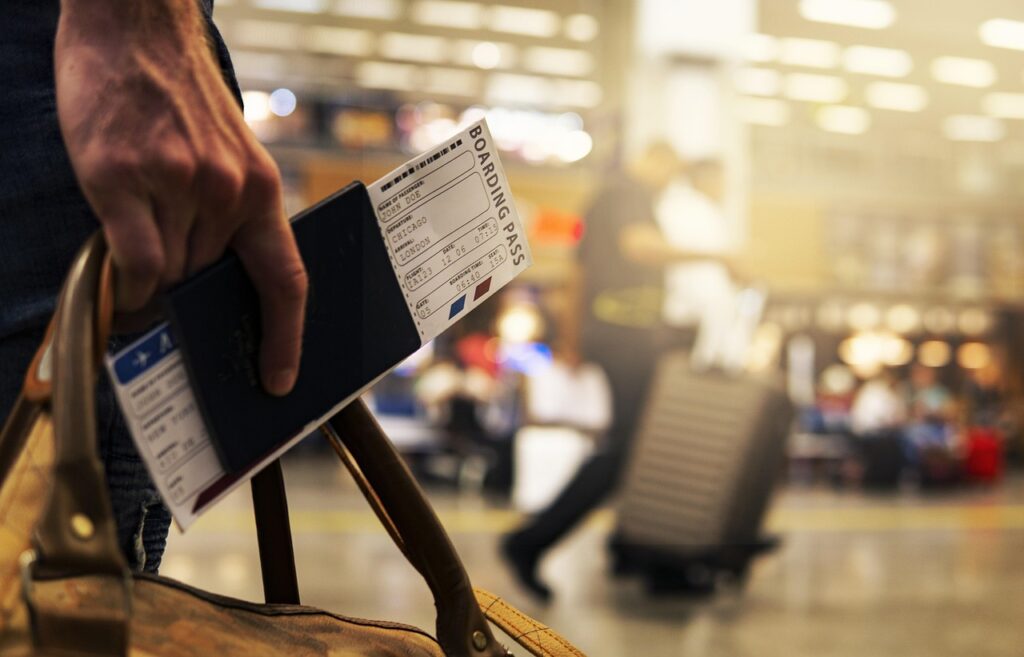
Step 4 — Book your appointment and prepare for the biometric interview (allow 1–14 days depending on availability)
Most centers require an appointment. Book as early as possible: ideally 8 to 12 weeks before departure. Peak seasons (summer, Christmas) can extend wait times. When you book you’ll receive a confirmation to print — bring it to the center.
On the day of the appointment:
- Arrive 15–30 minutes early. Offices usually open around 08:00–09:00. Example hours: VFS London 08:00–15:00 Mon–Fri; Embassy London counter 09:30–13:00 (by appointment).
- Bring all originals and copies listed in Step 3; keep an extra copy in a plastic folder.
- Pay the visa fee (often cash or card) and the center fee (separate payment). Prepare amounts in euros: €80 + €25 = €105; allow a margin for currency conversion if needed.
Biometrics:
- Fingerprinting and a digital photograph are taken on-site for applicants aged 12 and older; fingerprints are valid for reuse for 59 months.
- Estimated interview time: 10–20 minutes. Staff will check document consistency and may ask specific questions about your itinerary, funding and family ties.

Step 5 — Track your application and processing times (allow 15–45 days)
Official standard processing times are 15 calendar days, but they can be extended to 30 or 45 days depending on workload or additional checks. After submission you’ll receive a tracking number. Use it to:
- Check status online on the VFS/consulate website;
- Receive notifications by email/SMS (if selected);
- Be ready to provide extra documents if the consulate requests them (respond within 3–5 days to avoid delays).
Practical tips:
- Don’t book non-refundable flights before the visa is issued; favor changeable tickets or refundable/reservable bookings;
- If processing is long (>30 days), contact the center using the number on your receipt — have your file number ready;
- Keep copies of everything you submitted and the submission receipt (proof of submission is essential for emergency travel).
Step 6 — Passport collection, acceptance or refusal and appeals (allow 1 day to 2 months)
When a decision is made you’ll be notified to collect your passport at the center or it will be returned to you by secure mail (if you chose this service). Do the following:
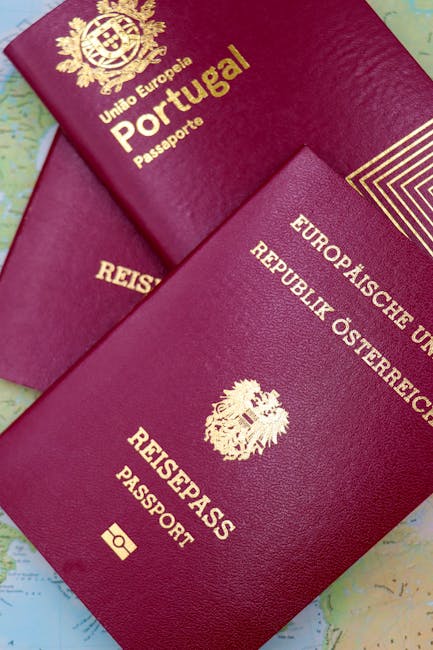
- Check the visa in your passport immediately: dates, number of entries (single/multiple), spelling of your name and authorized duration (max 90 days within 180);
- If you spot an error, return to the center right away with your receipt and request a correction;
- If refused, the refusal letter must state the reasons and explain the appeal procedure (often 1 month to lodge a complaint). Read it carefully and, if needed, consult an immigration lawyer or the consular section.
Examples of potential extra costs:
- Secure return by courier (optional): ≈ €10–€20;
- Fee for correcting an administrative error (rare): depends on the consulate;
- Legal consultation fees for appeals: variable, plan for €50–€150 depending on country.
Step 7 — Final preparations before leaving for Madeira and arrival tips (allow 1–3 days)
Before flying to Madeira, organize last-minute details and keep both an electronic and paper copy of your visa file. At arrival to Aeroporto da Madeira Cristiano Ronaldo (FNC), passport control and entry questions may focus on your length of stay, accommodation and financial means.
Practical arrival tips:
- Print: hotel confirmation, round-trip tickets, insurance, recent bank statements; keep them handy.
- Useful address: Aeroporto da Madeira Cristiano Ronaldo, 9125-028 Santa Cruz, Ilha da Madeira. Terminal open 24h; car rental desks open according to flight schedules (check-in mostly 06:00–23:00).
- SEF (immigration service) in Funchal: if there’s a specific arrival check, have local contacts and your hotel address ready to show. Ask the hotel if they can print a welcome letter on arrival.
Immersive local tips:
- Change a small amount to euros at the airport (€50–€100) for a taxi to Funchal: airport → Funchal centre ≈ €23–€30 depending on luggage and time of day;
- Bring hiking shoes if you plan to walk the levadas; hotel staff can recommend local guides (half-day guide ≈ €30–€50);
- Respect nature: Madeira enforces fines for fires or littering; keep booking confirmations for activities in case you’re asked to prove your purpose of stay.
Conclusion — Summary and final checklist before submission
You now have an operational 7-step plan: choose the right center, fill out the form correctly, gather precise supporting documents, book an appointment, track processing, collect your passport and prepare for arrival in Madeira. To sum up, here’s a final printable checklist:
- Identify the competent consulate/application center and book the appointment;
- Complete and sign the Schengen form in the correct format;
- ICAO-compliant recent photos (2 copies);
- Passport valid 3 months after exit + copies;
- Schengen travel insurance (min. €30,000);
- Printed flight and hotel reservations with exact addresses in Madeira;
- Bank statements for 3 months and proof of employment/leave confirmation;
- Payment for visa fee €80 + center fee ≈ €25; allow a small margin for optional services.
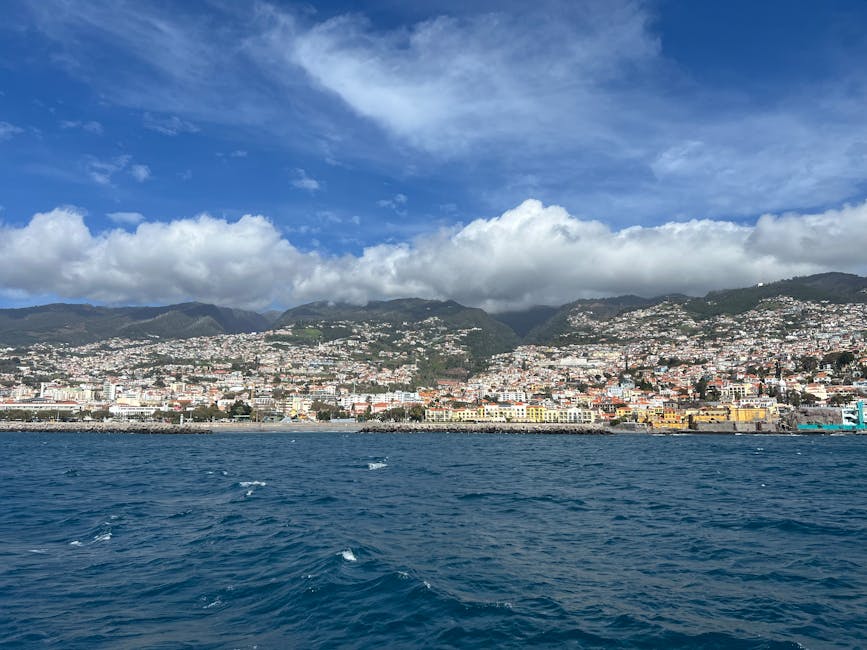
Finally, file your application as early as possible and avoid non-refundable bookings. If you’re unsure about a document (format, address, signature), contact the consular visa service or your local VFS/TLS center: it’s better to clarify before submission than to be sent back for missing items. Once your visa is granted, plan your Madeira itinerary with peace of mind — you’ll be rewarded with sea panoramas, levada hikes and the gentle Atlantic climate. Safe travels and enjoy Madeira!